Unspecified Medieval Shenanigans

Unspecified medieval shenanigans
More Posts from Ultraeyepiss and Others


Thank you all so much for thr rbgs and replies and tags ohhh i missed tumblr
Yall are so kind i barely understand the chars and yet you have it in your heart to love my work... thank you < 333


all things tavros }:)
Handy book of tips and tricks for using Krita (by a user thats used krita for a while)
HI! So i'm a krita user, and i figure since i know fellow artists that are moving to krita, i might as well make a handy guide to some of the tricks i use to snazzy up my art and basic howtos. This will be splitup into three sections: Tools, Layers, Filters. I'll also be interspersing how i used them in my art as examples!! Thisll be a two parter so hold on tight.
Shortcut keys: P = colourpick E = eraser B = brush
Tools:
Obviously try using all of the brushes and seeing which ones you like. Krita has a myriad of handy and good brushes, and you can even make your own if you feel like it. I personally like to modify the rectangle eraser to a normal brush and using it, before i modified it a little more to be my own brush.

You can change the settings of the brush youre using on any layer by clicking this little dropdown menu in the top left of your screen. That little three dot button by the left side also goes into more detail about the brushes in case you want to fine tune a brush to your liking.

Personally, these are the custom brush edits ive used to make my art just that bit crunchier. As you can see, theres a lot more options you can tick and mess around with if you feel like it too.

The pin button is the reference tool. If you copy paste an image into krita while the pin tool is selected, it will appear as its own image above all layers that can be moved around using the pin tool to use as a reference. Real handy so you dont waste layers on ref images.

Layer styles
Ok, you probably know the basics of how to change layers, (its this little dropdown menu here) but did you know that krita has a cool thing called LAYER PROPERTIES??


If you right click a layer and click this little button here..it should bring you to this handy menu with styles! These are really useful

Now, i used to usually use outer glow set to these parameters to give the illusion of lines (and this is how anime artists usually line their very delicate pieces of hair and stuff), but i found an even better way!!


Its called stroke, and you can just modify it to be as thin or thick as you like. I recently used it for these two pieces, because its more precise, and used across multiple layers makes your work look cool and like you gave a damn about lineart. This is especially helpful if youre a stubborn son of a bitch that isnt going to to take the time to line your lineless work, or if you want to line really small items like string on shoelaces and not have it look messy (just set the colour to white and draw as usual.)


PART TWO [ in the works ]

I’m on my Dirkisms and shit

Koroshiya 1, Ichi the Killer, Koroshiya Ichi, 杀手阿1, 殺し屋1 by Yamamoto hideo.


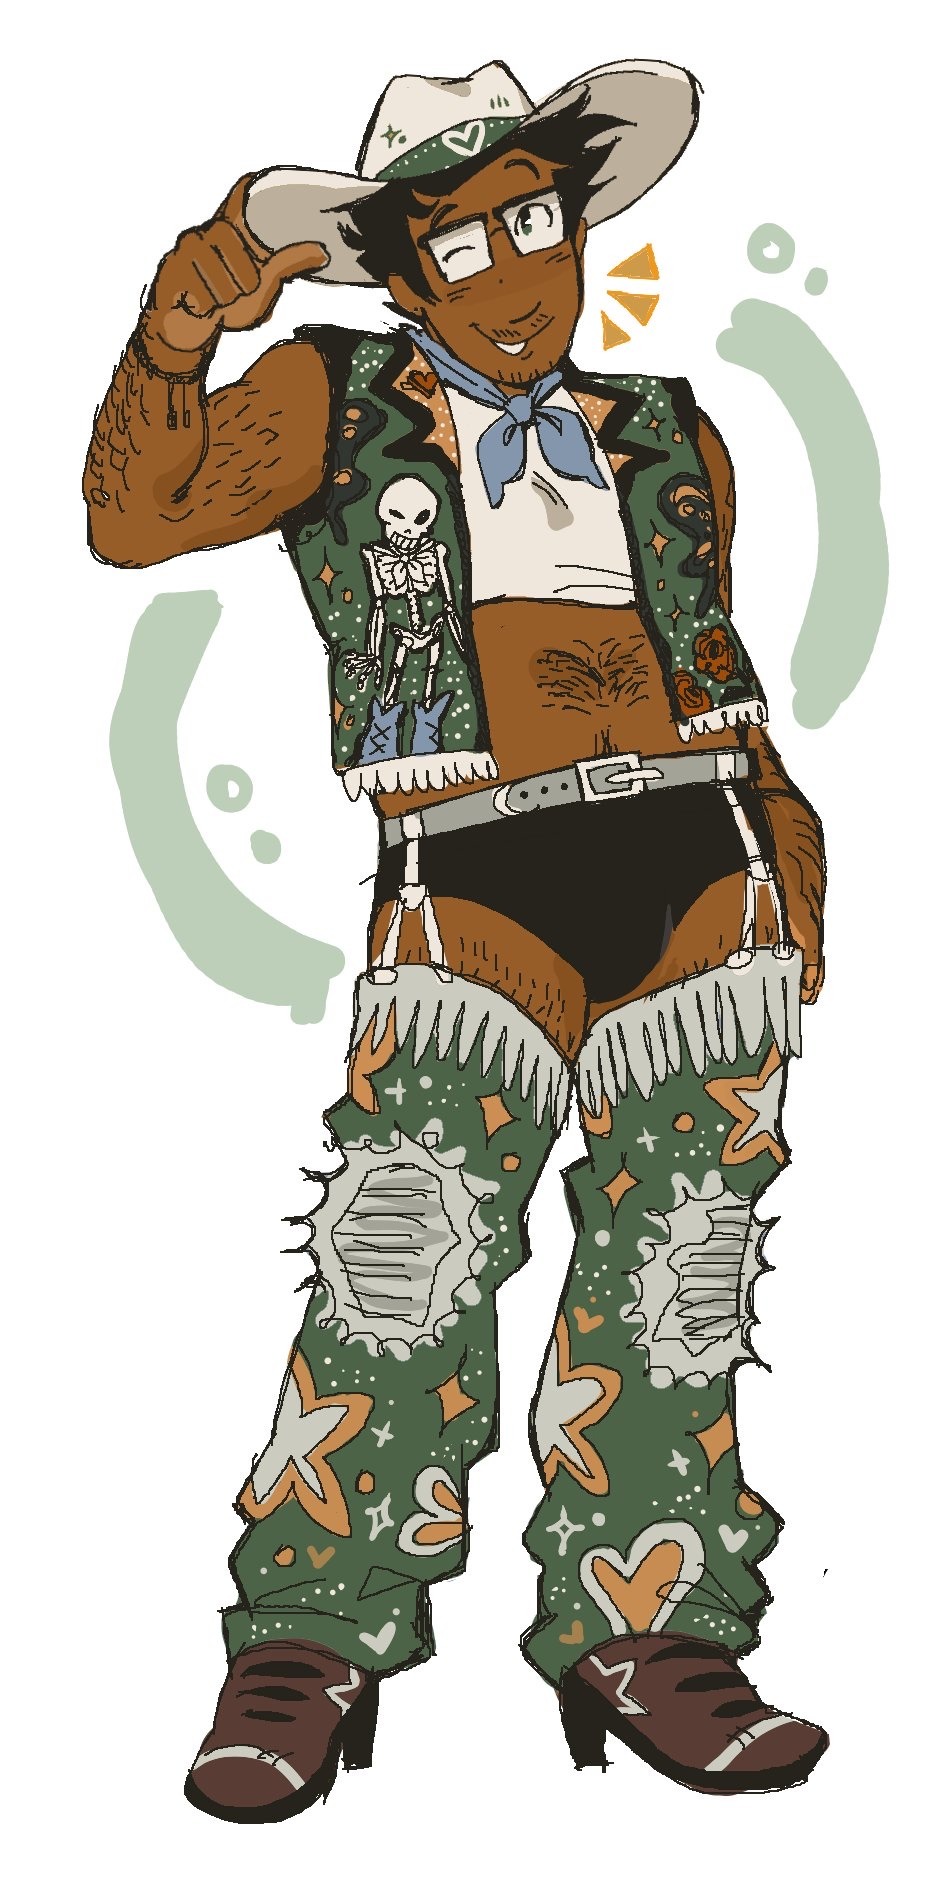
First one was from a cowboy themed aggie with @repliiku <3
Below the cut is the full jake outfit ❤️
-
 cherub-investigation0802 reblogged this · 9 months ago
 -
 wafflextroper liked this · 11 months ago
 -
 kaspalicious liked this · 1 year ago
 -
 dangerousenemykid liked this · 1 year ago
 -
 blitzzk liked this · 1 year ago
 -
 l1gh7h0use liked this · 1 year ago
 -
 dreams-juic4 liked this · 1 year ago
 -
 thedeadspiral liked this · 1 year ago
 -
 van335 liked this · 1 year ago
 -
 kobdina liked this · 1 year ago
 -
 icepapr liked this · 1 year ago
 -
 kiddygirllink liked this · 1 year ago
 -
 radishconsumer liked this · 1 year ago
 -
 bunnyjeongukkie liked this · 1 year ago
 -
 icecreamvi liked this · 1 year ago
 -
 love-love-fans reblogged this · 1 year ago
 -
 dirkjakeliker liked this · 1 year ago
 -
 tiptop-cheerio liked this · 1 year ago
 -
 spastikiarr liked this · 1 year ago
 -
 bobynewbygroovy liked this · 1 year ago
 -
 digital-phonetics liked this · 1 year ago
 -
 cynepxopek liked this · 1 year ago
 -
 clomaxxx liked this · 1 year ago
 -
 n3onlights liked this · 1 year ago
 -
 aertalias liked this · 1 year ago
 -
 ende0 liked this · 1 year ago
 -
 caligulusaquariumglub reblogged this · 1 year ago
 -
caligulusaquariumglub liked this · 1 year ago
-
 ultraeyepiss reblogged this · 1 year ago
 -
ultraeyepiss liked this · 1 year ago
-
 honorabletyranny reblogged this · 1 year ago
 -
 meenospond liked this · 1 year ago
 -
 fantaseafaux reblogged this · 1 year ago
 -
 sburbling reblogged this · 1 year ago
 -
 noyneiim liked this · 1 year ago
 -
 hawheckin liked this · 1 year ago
 -
 junkiiartiist liked this · 1 year ago
 -
 uraviriot liked this · 1 year ago
 -
 phlegmboymessiah reblogged this · 1 year ago
 -
phlegmboymessiah liked this · 1 year ago
-
 purplefuzzball07 reblogged this · 1 year ago
 -
purplefuzzball07 liked this · 1 year ago
-
 johnnyt0pside liked this · 1 year ago
 -
 strider-odyssey liked this · 1 year ago
 -
 octopus-awareness liked this · 1 year ago
 -
 spacewitch8642 liked this · 1 year ago
 -
 enigmaticpupper liked this · 1 year ago
